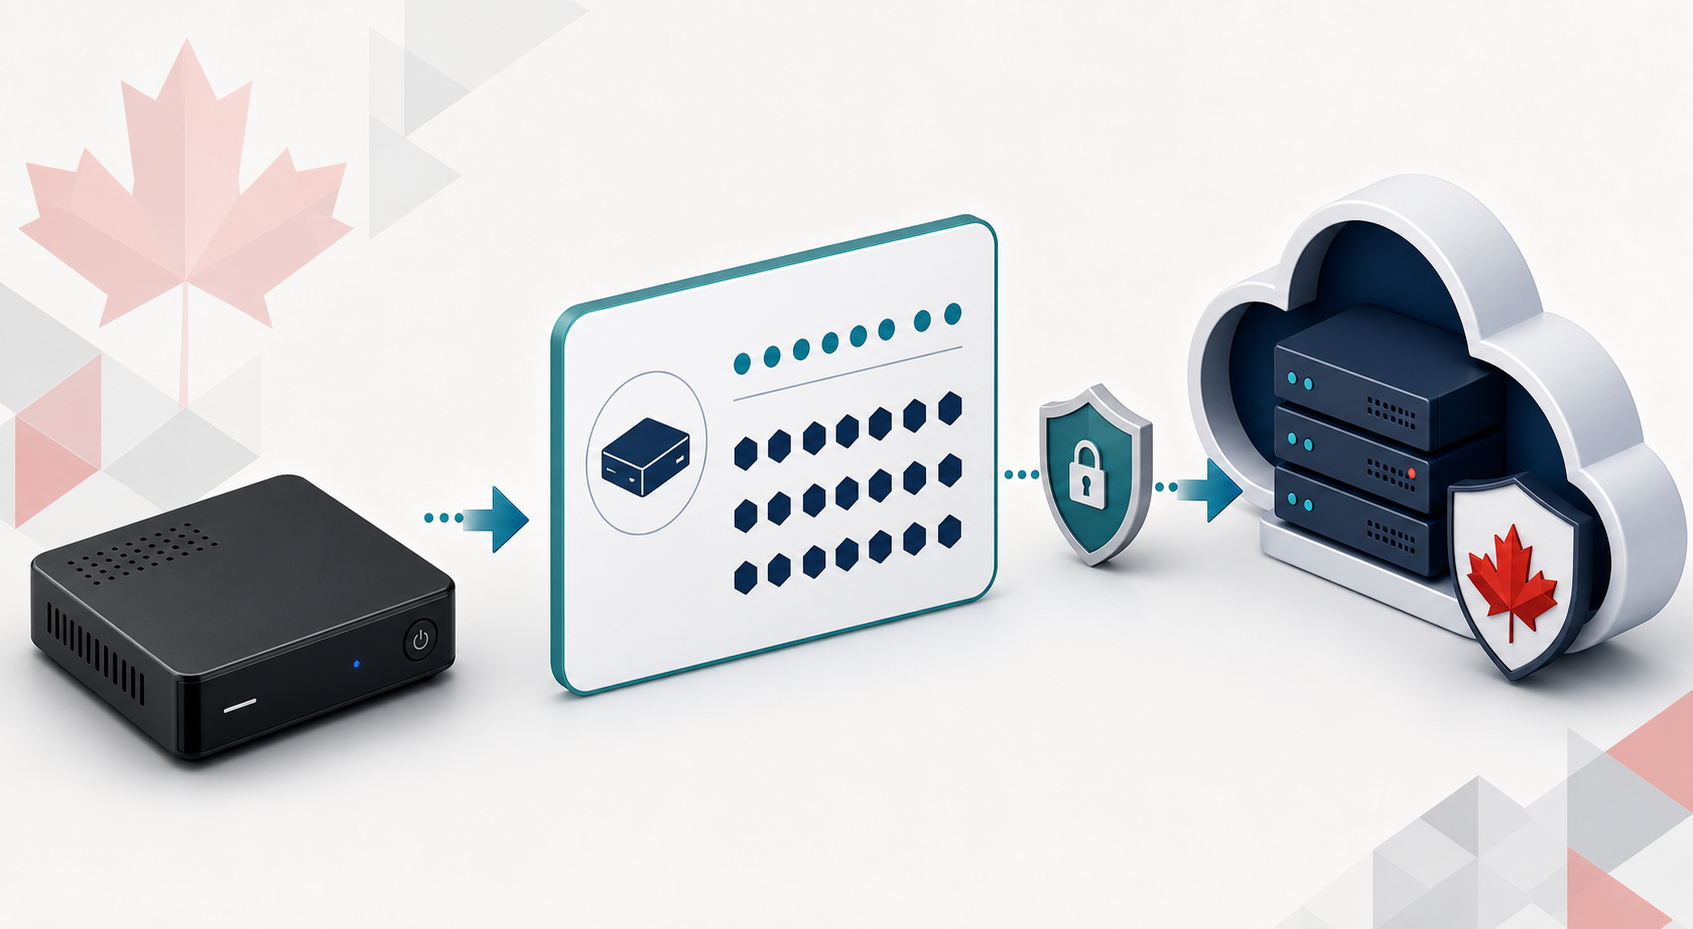
A MAG box normally connects to an IPTV service through a provider-supplied portal URL. On a classic Linux/WebKit MAG device, the usual route is System Settings → Servers → Portals: enter the exact portal address, save it, and restart the portal or box. The provider may also need the box’s wired Ethernet MAC address before it will authorize the device.
This guide to IPTV on MAG Box models addresses two common complications. First, MAG model families do not all use the same operating system. The familiar portal workflow applies to many classic Linux/WebKit boxes, while an Android-powered MAG device may use an app-based setup instead. Second, a MAG box is only a player. It does not include channels, rights, or a subscription by itself. Use it only with an authorized service or streams you have permission to access.
What you need before you start
Have these items ready before opening the settings menu:
A compatible MAG box, its original or compatible power adapter, and remote
A television with an available HDMI input
An HDMI cable
Home internet, preferably with an Ethernet cable between the router and box
The exact portal URL supplied by an authorized provider
Any activation instructions, username, password, or PIN the provider specifically issued
The box’s wired Ethernet MAC address if the provider activates devices by MAC
Do not substitute an M3U playlist URL for a portal URL unless the provider explicitly says the MAG interface accepts it. A portal is a web application that controls the set-top box experience; an M3U URL is typically a playlist. They serve different purposes and are not automatically interchangeable.
Before paying for a service, review its device setup instructions, device policy, simultaneous-stream limit, current pricing, refund terms, and support route. These details determine whether the provider can activate your particular MAG model.
1. Confirm which MAG box you have
Look at the model number on the label underneath the box or in System Settings → Device Info. Infomir’s documentation separates classic Linux/WebKit MAG models from Android-powered MAG devices, so identifying the platform prevents you from following the wrong menu path.
On many classic boxes, the remote’s Setup, Services, or Set button opens System Settings. You may also be able to reach it from the embedded portal’s main menu. If the interface shows Android settings and an app store rather than Servers and Portals, stop here and follow the app instructions for that model instead.
Operator-customized firmware can hide or lock parts of System Settings. Do not try to bypass those restrictions. Ask the device seller, operator, or provider for the supported configuration method.
2. Find the MAC address safely
Many MAG portal systems identify a box by its wired Ethernet MAC address. On supported classic models, open System Settings → Device Info and look for MAC address. You may also find it on the device label. Infomir’s System Settings documentation describes this value as the unique address of the wired Ethernet interface.
Copy every pair of characters carefully, including leading zeros. A typical MAC address contains six pairs separated by colons. Do not post the full value in a public forum or article comment. Send it only through the provider’s stated support or activation channel.
The Ethernet MAC and Wi-Fi MAC may be different. When a provider asks for “the MAG MAC,” confirm which one it expects; many classic portal activations use the wired address shown in Device Info.
3. Connect the MAG box
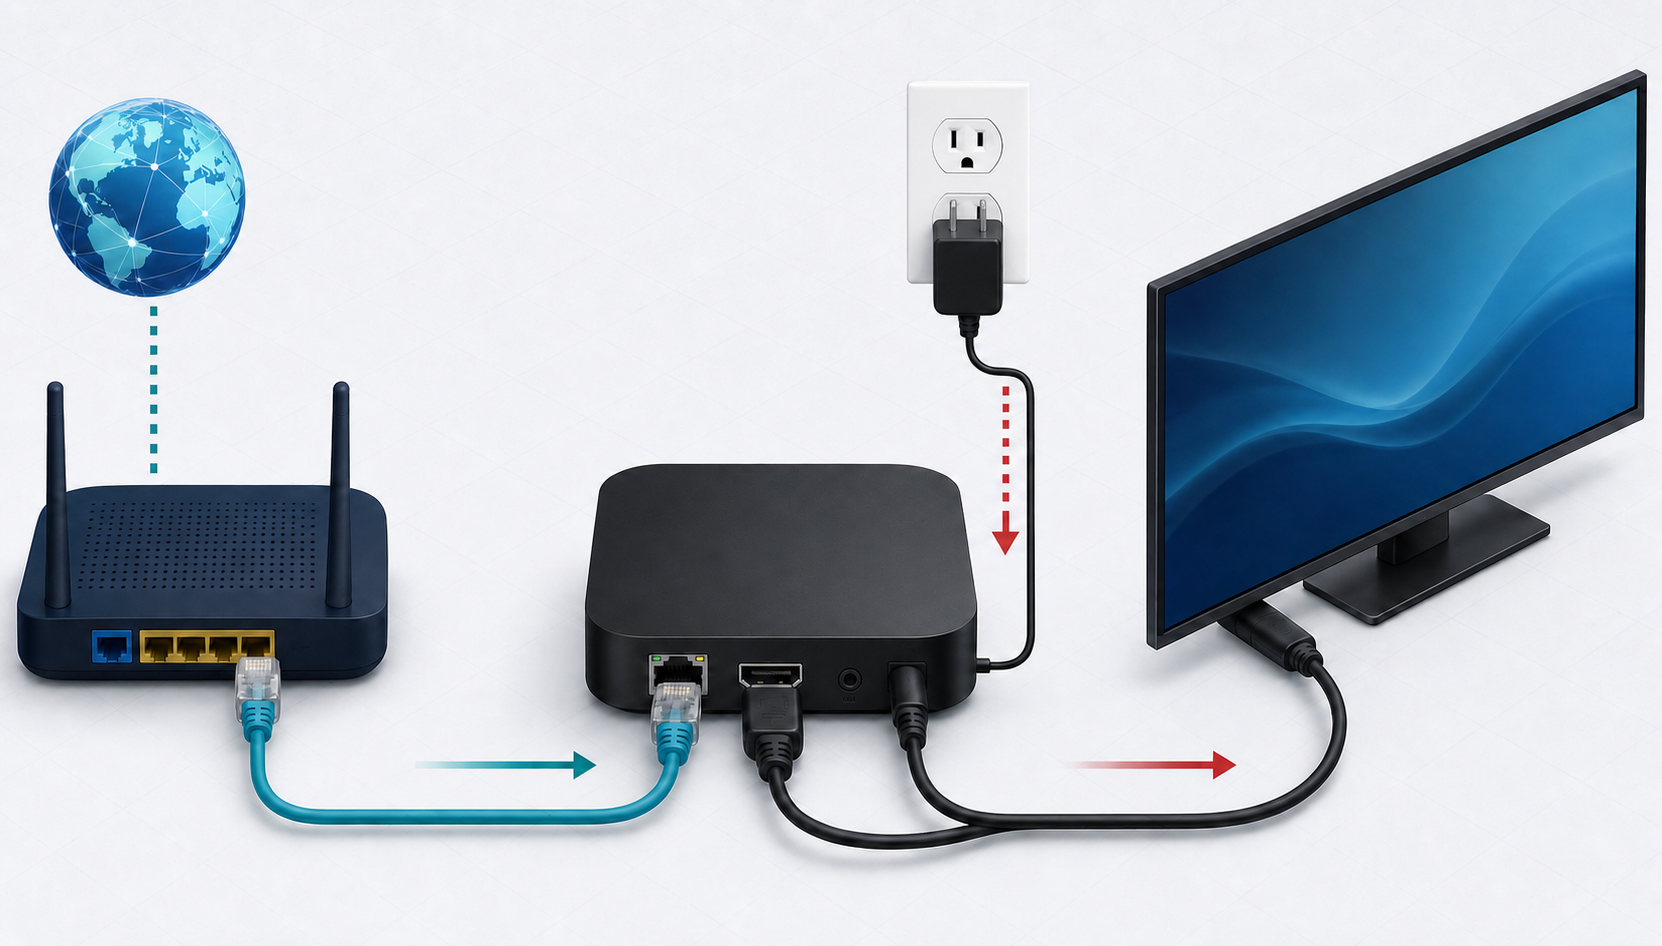
Turn off the television and leave the MAG box unplugged.
Connect the MAG box to the television with HDMI.
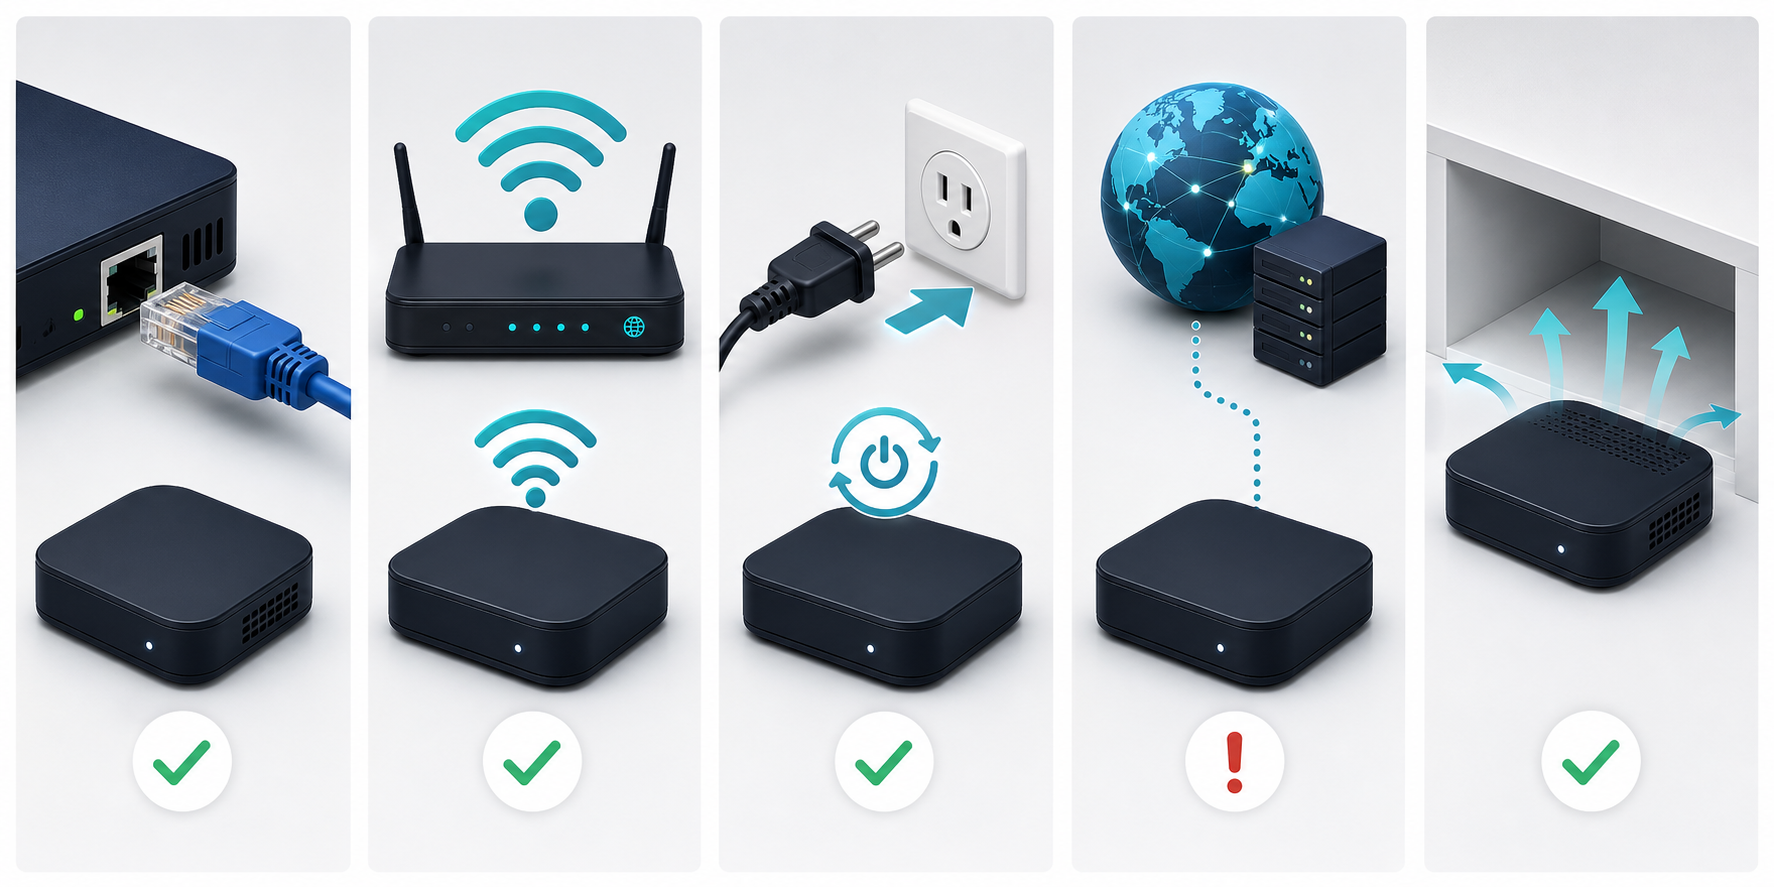
For the most predictable first setup, connect the box to the router with Ethernet.
Plug in the supplied or correctly rated power adapter.
Turn on the television and select the matching HDMI input.
Wait for the box to finish booting.
Place the box on a hard, open surface. Do not cover its ventilation slots or wedge it behind equipment that produces heat. Passive-cooled set-top boxes rely on airflow, and prolonged overheating can cause instability or restarts. Infomir’s model guidance also recommends keeping the unit uncovered with free space around it.
If the television shows no picture, check the HDMI connection and the selected TV input before changing software settings. A mismatched video output mode can also cause a blank screen on older models, but use the manufacturer’s model-specific recovery instructions rather than guessing at bootloader options.
Connect with Ethernet
With Ethernet attached, most home routers assign network details automatically by DHCP. Open System Settings → Network → Wired (Ethernet) and choose the automatic or DHCP option if it is not already enabled. Network Info should show an IP address, gateway, and DNS information.
If the Ethernet status is down, reseat both ends of the cable, try another router port, and inspect the cable for damage. A link light at the box or router is a useful physical check.
Connect with Wi-Fi
If the box and firmware support Wi-Fi, open System Settings → Network → Wireless (Wi-Fi), select your home network, and enter its password. Older models may require a compatible external Wi-Fi adapter.
Wi-Fi can work, but signal strength and local interference change from room to room. Ethernet removes that variable, so it is the better baseline when activating the portal or diagnosing buffering.
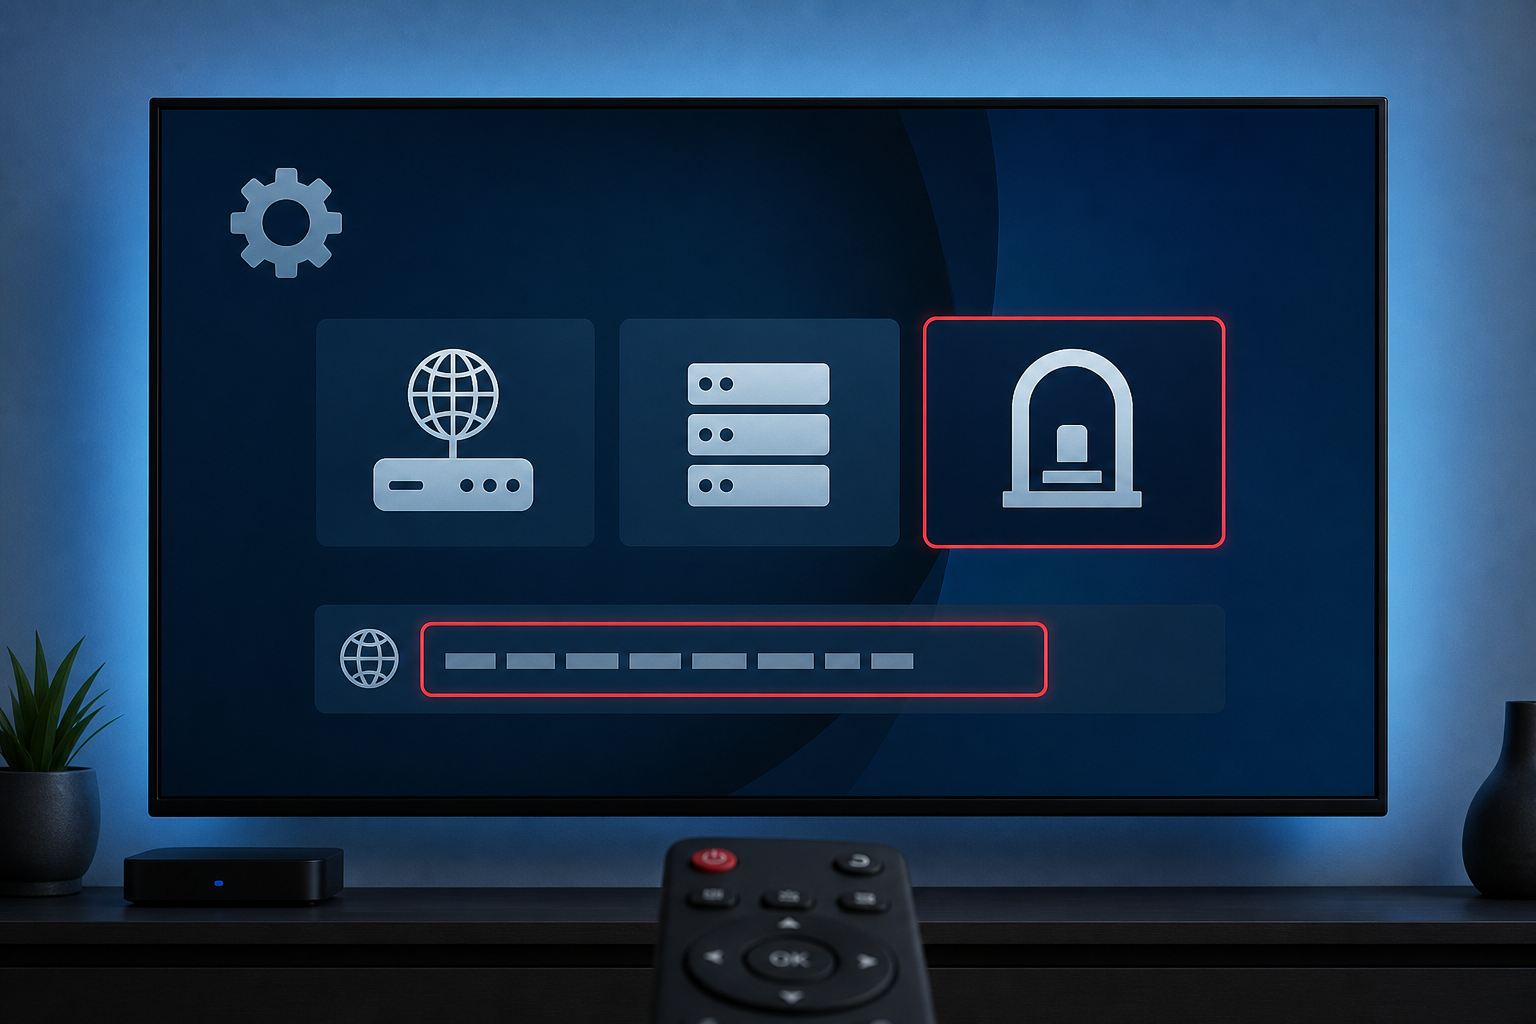
4. Enter the IPTV portal URL on your MAG box
The exact labels can vary, but the standard classic MAG path is:
Press Setup on the remote, or open Settings from the embedded portal.
Choose System Settings.
Open Servers.
Select Portals.
In Portal 1 name, enter an optional recognizable name if the provider gives one.
In Portal 1 URL, enter the portal address exactly as supplied.
Leave Portal 2 empty unless the provider gave you a second portal and explained when to use it.
Confirm or save the change.
Return to the previous menu and choose Restart portal, or reboot the box.
Portal addresses are sensitive to missing characters. Check the protocol (http:// or https://), punctuation, path, and any trailing slash against the provider’s message. Do not “correct” or shorten the address based on how a normal website URL looks.
Infomir’s official external portal guidance says portals are configured in System settings → Servers → Portals on open-platform factory/public images. It also notes that an operator image can preconfigure a portal or restrict access to the embedded settings. That is why two boxes with the same model number can present different menus.
5. Complete the first load
After the restart, the box should contact the portal. The first load can take longer than later starts while the interface, channel categories, programme guide, and account state are retrieved.
When the portal opens, check:
The account is recognized and not shown as expired or blocked
Live channels you are authorized to receive open normally
The electronic programme guide displays
Audio and subtitle options appear where available
The time and programme schedule match your Canadian time zone
The remote’s navigation, back, and volume controls behave as expected
Canada spans several time zones. If the guide is offset by one or more hours, correct the MAG box’s region/time-zone setting before assuming the provider’s guide is wrong. Daylight-saving transitions can also expose a stale device or portal setting.
If the provider uses a login prompt rather than automatic MAC activation, enter only the credentials it issued for your subscription. Never reuse an important email, banking, or work password.
Troubleshooting IPTV on a MAG box
| Symptom | Check first | Next action |
|---|---|---|
| Page Loading Error | Internet connection and every character in the portal URL | Restart the portal, then ask the provider to confirm portal availability and device activation |
| STB blocked or not registered | Account status and the MAC address registered with the provider | Send the exact message, model, and MAC privately to official support |
| Portal opens but streams fail | More than one authorized channel and the account status | Test Ethernet, pause competing downloads, and report the affected category |
| Frequent buffering | Ethernet versus Wi-Fi and other traffic on the home network | Compare stream qualities and make one network change at a time |
| Wrong EPG time | Device time zone and clock | Restart the portal; if the shift remains, report the offset and Canadian time zone |
| Settings menu missing | Exact model, platform, remote key, and operator firmware | Request the supported setup method; do not bypass locked settings |
“Page Loading Error” or a portal that never opens
Start with the least disruptive checks:
Confirm another device on the same network can reach the internet.
Recheck the portal URL character by character.
Verify that the correct device MAC is active with the provider.
Restart the portal, then reboot the box and router if needed.
Ask the provider whether the portal is available and whether the account is active.
Infomir’s portal-loading guidance identifies the network connection, portal URL, portal availability, and operator access state as the principal checks. A factory reset is not the first response; it erases local settings and does not fix an unavailable provider server.
“STB blocked,” “device not registered,” or authorization failure
These messages usually require the provider to check the account and device record. Send the exact on-screen wording, box model, and MAC address through the official support channel. Do not share the credentials or MAC in a public post.
If a subscription was moved from another device, ask whether the provider must release or replace the prior device registration. Simultaneous-use and device-transfer rules are provider-specific.
The portal opens, but channels do not play
Test more than one authorized channel. If only one stream fails, the issue may be at the source rather than in the box. If all streams fail:
Restart the portal
Confirm the account remains active
Test with Ethernet
Pause large downloads or cloud backups on the home network
Check whether the portal displays a service message
Contact the provider with the affected category and approximate time
Avoid changing random buffer, DNS, or firmware values all at once. One change at a time makes it possible to identify what solved—or worsened—the problem.
Buffering or frequent freezes
Raw download speed is only one factor. Wi-Fi interference, packet loss, a busy home network, the remote server, and the bitrate of the selected stream can all matter.
Use Ethernet for a controlled test, restart the router and box, and compare a standard-definition or HD stream with a higher-bitrate stream. The site’s internet-speed guide and buffering checklist can help organize further tests, but a speed result cannot prove that a provider-side stream is healthy.
Wrong EPG time
Check System Settings → Advanced Settings for the correct time zone. Then restart the portal so it reloads programme data. If the clock is correct but every programme is shifted, report the offset and your Canadian time zone to the provider.
Settings menu is missing
The remote key may differ on older models, and operator firmware can remove access to System Settings. Try the documented Setup, Services, or Set key for the remote. If the menu is still unavailable, use the operator’s supported method; do not install unofficial firmware merely to expose a menu.
Ethernet or Wi-Fi: which should you use?
Use Ethernet when the router is close enough for a practical cable, when you watch high-bitrate streams, or when you are troubleshooting. It normally provides steadier latency and avoids wireless congestion.
Wi-Fi is reasonable when cabling is impractical and the box has strong signal with a compatible adapter or built-in radio. If performance changes when someone closes a door, uses a microwave, or starts another wireless device, the local connection is likely contributing to the problem.
The useful test is not “Does Wi-Fi connect?” but “Does it remain stable during the programmes and times I actually watch?”
Security and authorized use in Canada
A MAG box is a playback tool; it does not make a content source authorized. Use IPTV only with services, channels, and personal media you have permission to access. Canadian Intellectual Property Office guidance explains that using protected content without the required authorization can infringe copyright. This article is setup guidance, not legal advice.
Protect the information used to activate the box:
Keep portal URLs, usernames, passwords, and full MAC addresses out of public posts
Use the provider’s official contact route
Do not buy or share “lifetime” credentials from unknown sellers
Do not download firmware from an unofficial download site, forum attachment, or unrelated file host
Install an update only when it is intended for the exact MAG model and comes from the manufacturer or authorized operator
Review renewal, cancellation, tax, refund, and device-transfer terms before ordering
Using Star IPTV setup and support resources
If you already have an authorized subscription from stariptv.shop, use the site’s setup guide as the starting point and contact support for the exact portal URL and device-activation method. The provider—not the MAG box—determines whether your account uses MAC activation, a portal login, or another supported workflow.
If you are still comparing options, review the current plan details, FAQ, refund policy, and terms before purchasing. Confirm MAG compatibility, the number of simultaneous streams, the currencies and taxes shown at checkout, content availability in Canada, and the support path for changing devices. Prices, lineups, policies, and availability can change, so the live pages should take precedence over an article.
This guide does not independently verify a provider’s licensing, uptime, channel counts, or performance claims. Ask for clear rights, terms, and device support information when those points affect your decision.
Quick setup checklist
Confirm the MAG model and whether it uses Linux/WebKit or Android
Connect HDMI, Ethernet, and power
Verify the box receives an IP address
Copy the correct MAC address privately
Obtain the exact portal URL from an authorized provider
Open System Settings → Servers → Portals
Enter Portal 1 and leave Portal 2 blank unless instructed
Save and restart the portal or box
Confirm account status, playback, EPG, time zone, and remote operation
Keep credentials private and use only authorized streams